
How I Spent My Flu Vacation!
 |
| Oooh, Ahhh, Warm! |
Look what I made! I’ve been knitting and crocheting hats of all shapes and styles for so long that it never occurred to me to sew one. That was until Mr. Vagabond came home for Christmas with a super cool and very warm fleece hat. He didn't want to share, so I knew what must be done.
Quick-like, I bought some baby blue fleece, the cheap stuff, and set out to make myself a hat as warm as his. Because this was a trial run, I didn’t want to spend a lot on fabric.
I call this hat my Big-Ol’-Head hat. Because I have a ton of hair and a big ol’ head. For a kid’s hat or one for a person with a much smaller head, you’ll need to scale it back a bit.
What You’ll Need
- Flexible tailor's measuring tape
- 1/4 yard fleece fabric
- Chalk, pencil or marker
- Scissors
- Needle
- Matching thread
- Sewing machine
- Ball point sewing machine needle (for knits)
First, tug the fleece to determine which direction it stretches. That's your horizontal orientation for the fabric. Spread out the fleece on your work table with the stretchy direction running left to right.
Measure around your head to determine how wide the fabric needs to be. Take the measurement at the level where the bottom of the hat will fit, such as just below your ears. Now add 1/2 to 1 inch to the measurement for a seam allowance.
Measure across the fleece to the measurement around your head plus 1/2 or 1 inch and mark it, then cut the fabric straight across at the mark. Cut out an identical piece for the second layer.
Measure across the fleece to the measurement around your head plus 1/2 or 1 inch and mark it, then cut the fabric straight across at the mark. Cut out an identical piece for the second layer.
Now you’re ready to trace the design onto the fleece.

 |
| Ignore the text on this image about adding 1/4 to 1/2 inch. It should be 1/2 to 1 inch (which gives you 1/4 to 1/2 inch on the left and the right). |
This pattern is more of a guide than a real pattern. I’ve never made a pattern to print out before, so I have no idea how it will come out if you print it. So I added the dimensions that you’ll need to get started. From the bottom edge of the fabric to the part where the peak begins to curve up is about 5 1/2 inches. From the bottom edge to the highest point of the peak is about 9 inches. Again, this is for the Big Ol’ Head version.
The single peak image is just one section of the whole hat. The larger image with a row of peaks shows how the fleece should look once you trace the whole design. Place the single peak pattern on the fleece with only half the width of the peak on the left edge of the fabric and trace around it (or draw it freehand). Continue the design by moving the pattern over or tracing a full peak and another and another and so on until the outline looks like the second image. Cut out both layers of fleece.
It should look kind of like a goofy crown.
Now to start sewing it together.
If you have a serger, awesome on you! That’s the best way to go because it allows for stretch. For mere mortals like me, you’ll need to do it the old-fashioned way with a sewing machine set for a wide zigzag stitch.
Pin and the baste one layer of the hat together. Basting is important with an imprecise pattern. It lets you make adjustments before sewing it together permanently. Basting is just sewing a straight stitch by hand, and a bit loosely.
It should look like this:
 |
| Baste the left and right ends together, which makes the back seam, then baste the edges of the peaks together. |
Now turn it right side out and try on the hat. I worked and worked to make a design that didn’t resemble a cone or an elf’s hat. That’s the opposite of ideal. If it fits the way you want and doesn’t resemble a cone, you’re all set. If not, repin the hat, baste it again and make adjustments with stitch placement until it looks the way that you want it to. Getting rid of a point at the top of the hat means shortening the peaks. Narrower and taller peaks makes a pointy hat, while wider and shorter peaks help it fit flatter against your head.
Time to sew!
Sew along the basted stitches with a sewing machine set on a wide zigzag stitch, or if you’re lucky, use a serger. Trim off the excess fabric as close to the stitches as possible (fleece doesn’t ravel), then sew up the second layer of the hat.
Now it’s time to put the hat together.
Leave one layer of the hat wrong side out and turn the other layer right side out. Slip the right-side-out layer up inside the wrong-side-out layer. The idea here is that the right sides of both layers should be touching. You’ll likely need to wiggle them around to make the seams in both layers align. I’ll wait here until you get that sorted out.
 |
| Right-side-out section goes inside, wrong-side-out section goes outside. |
 |
| Like so. |
Pin the two layers together around the bottom edge of the hat like so, leaving a few inches unpinned:

Now sew around the bottom edge, leaving an opening where you didn’t pin the hat, and remove all of the pins as you go. You need the opening to turn the hat right side out. Trim off the excess fleece.
 |
| A zigzag stitch lets the bottom edge stretch. |
Now the fun part. This is where your hat turns into a hat.
Reach into the opening...

...and pull the hat through. Pull, tug and wrangle the material until it looks like this:
 |
| Both right sides should be on the outside now. |
Now push one of the layers up inside the other like so:
Now it's time to sew up the opening. Because the hat is right side out now, you'll need to sew it with an invisible stitch. That's secret code for sewing it together by hand on the inside of the seam. It's not really a secret.
 |
| Pick up some fleece inside the hem with the needle... |
 |
| And pick up more fleece from the opposite side of the hem. |
 |
| Sew back and forth like that all the way across the hem opening. Your stitches should look sorta like this. |
 |
| Then pull the thread to close the seam. |
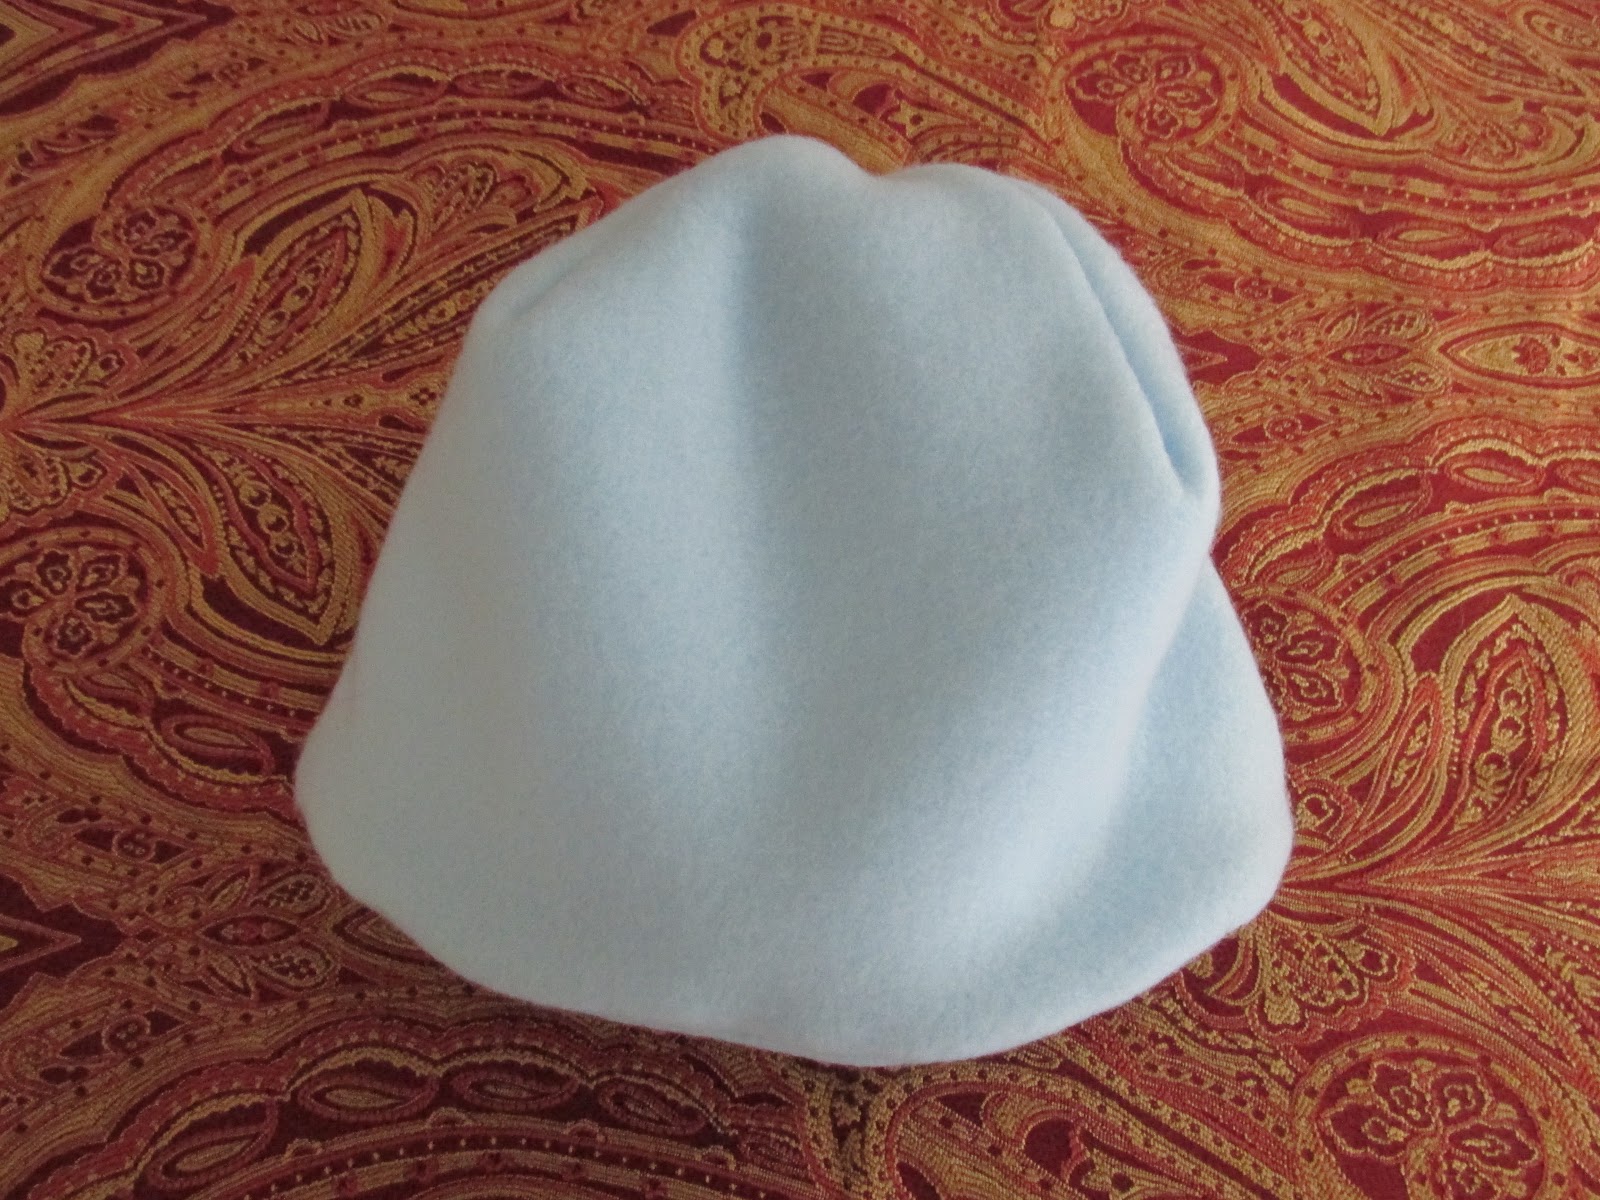
And now you have a very simple, very warm fleece hat!
 |
| Top view. |
|
| Plain and simple, super-warm hat! |
The groovy thing about this hat is the customization possibilities. It’s ultra basic, and it's neither a girl hat nor a boy hat, so you can do a number of things with it.
You could use two different colors of fleece for the two layers, since the hat is naturally reversible. You could make the peaks 13 or 14 inches tall instead of 9 inches tall to make a hat with a cuff that you can turn up around the bottom edge. Make cute little flowers to sew or pin onto the side, make a pompom for the top or even sew a ruffle around the bottom edge.
And there you have it. Have fun!
Your step-by-step instructions and clear pictures are much appreciated by a non-crafty gal, like myself. Oh, and don't worry, you're not the only one with a big 'ole head!
ReplyDeleteIt's that West big brain, right?
ReplyDeleteThis would be cute with fleece on one side, and a printed stretch fabric on the other. I like that it's one piece instead of four, so you can use a print. Probably would have to wear the fleece on the inside, as a knit fabric like lycra would slip off your head.
ReplyDeleteThere's a lot that you could do with this pattern. My favorite thing about it is that it's good for people like me who have a lot of hair and a not-so-small head. It doesn't fit like a skullcap. Just watch the way that the fabric stretches. Some of the fleece fabrics actually stretch a lot better on the bias / diagonal. :-)
DeleteI teach sewing go a group of foster teen girls who are in substance abuse recovery, and we are going to make this for our next project!
ReplyDeleteThat's wonderful! Please show us pics! :-)
Delete